4 min read
It’s that time of year, again. You are driving around, the snow is falling, and there are beautiful lights everywhere. There’s no better time of year to teach students about circuits! Yes, that's right, circuits!
Even though you don’t see it, electricity is flowing all around, especially during the holiday season. And, if you can’t see it, students don’t notice it either. Before your class dashes off for break, use the twinkling lights as an opportunity to teach them about electric flow by creating a simple circuit holiday card.
The materials for this activity can be found at any basic hardware store for between $10 - $15. You can also buy them in bulk for a large classroom.
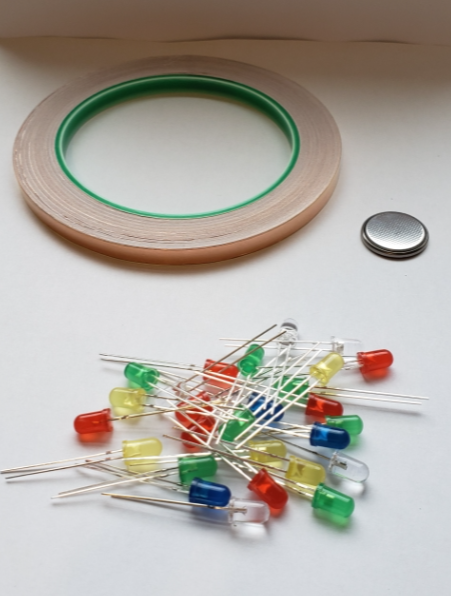
What You Will Need
- ¼ inch copper tape with adhesive backing
- 5 mm LEDs (varying colors of choice)
- small coin cell battery
Other Materials You May Need
- clear tape
- scissors
- ruler
- art supplies
- circuit templates
Next Generation Science Standards Alignments
- MS-PS2-5. Conduct an investigation and evaluate the experimental design to provide evidence that fields exist between objects exerting forces on each other even though the objects are not in contact.
- PS2.B
Types of Interactions | Planning and Carrying Out Investigations | Cause and Effect
Christmas Tree Card Circuit: Guided Design
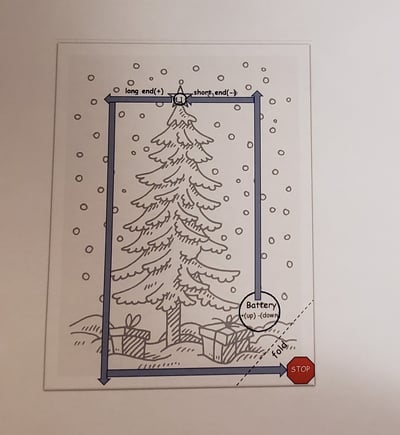
Begin by downloading and printing this Christmas Tree Card Guided Design Template as a double-sided document. It is important that the Christmas tree design is on the front and the circuit design is on the back.
Next, have your students color and decorate the front and inside of their card any way that they wish. While they work, gather your materials and find a flat work space.

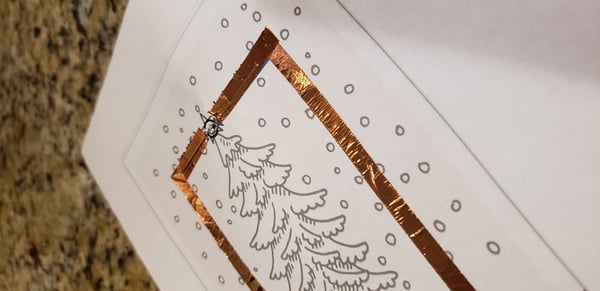
Step 1: Lay the template on a flat surface with the circuit template side up. Gather the copper tape and scissors. Estimate how much copper tape you will need by unraveling it and roughly measuring the length of your circuit against the tape. Cut this length of copper tape.
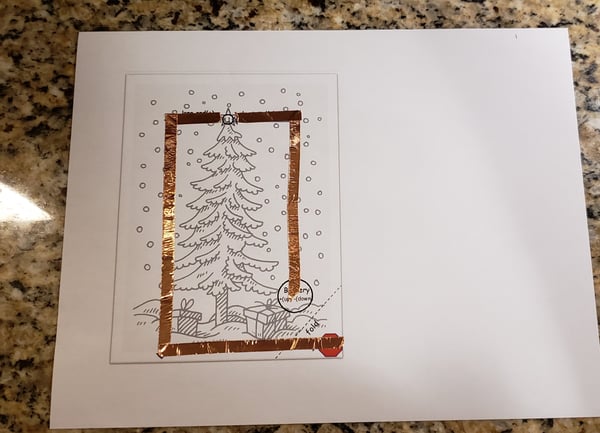
Step 2: Peel the backing off one end of your tape, and starting at the battery end, lay the tape down along the circuit path. At the corners, be sure to make the turns as precisely as possible, keeping the conductive side of the strip upward facing. Your template should look like the one below when finished.
NOTE: Do not connect your circuit yet! Stop at the stop sign found in the lower-right corner of the template.
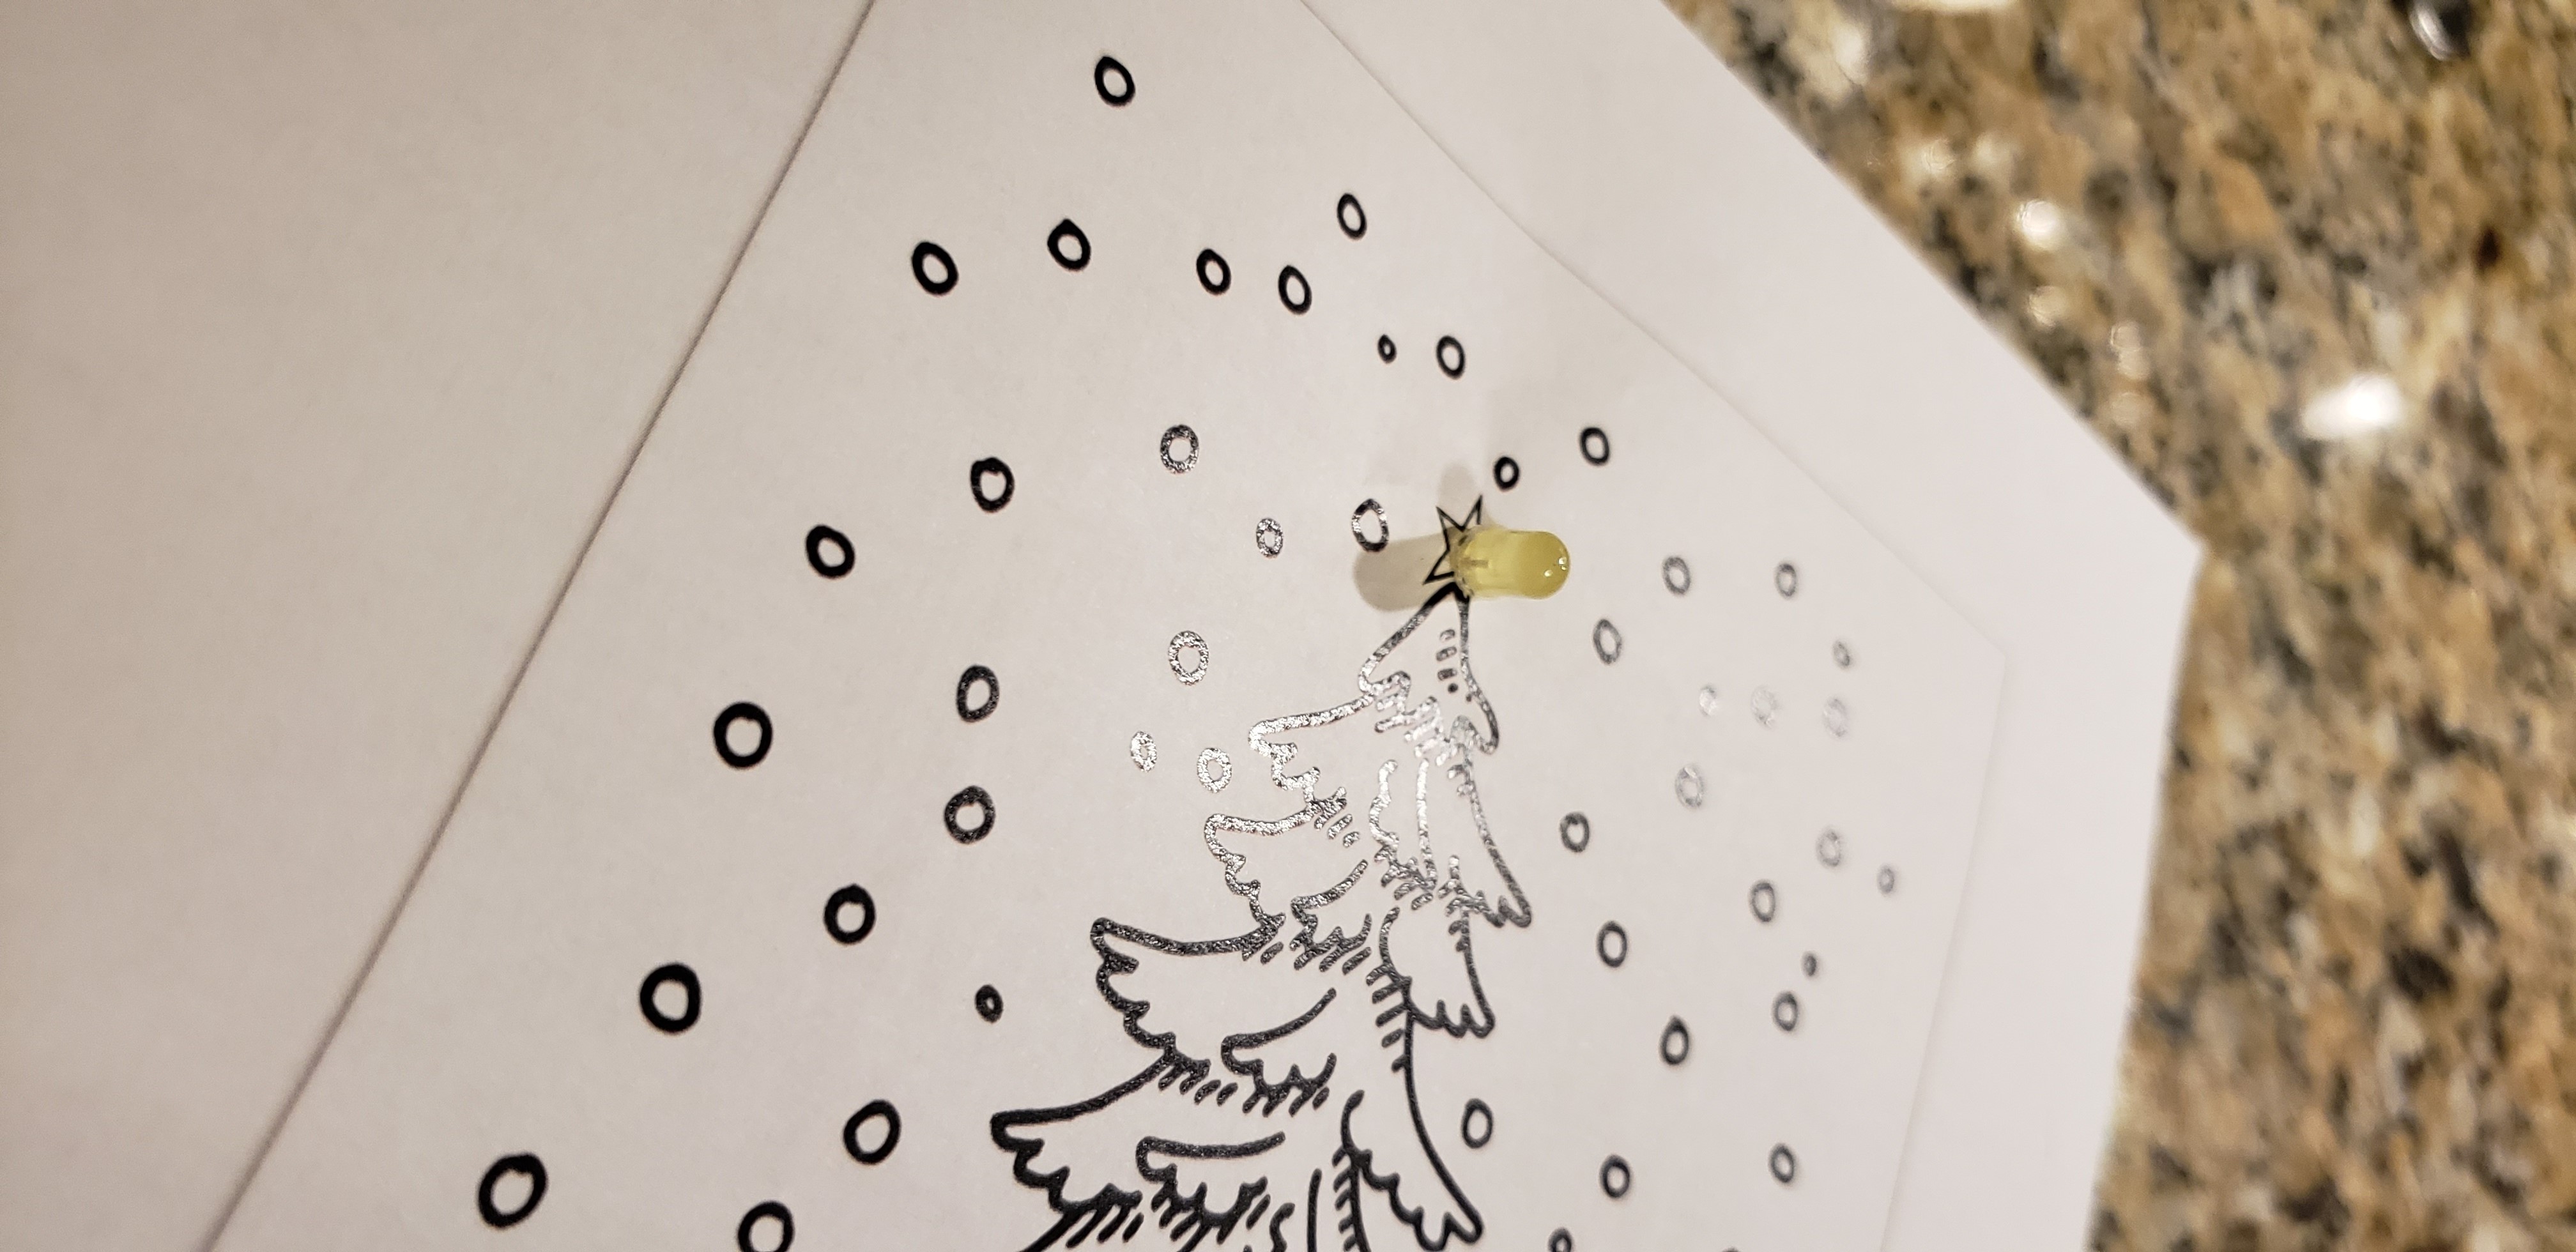
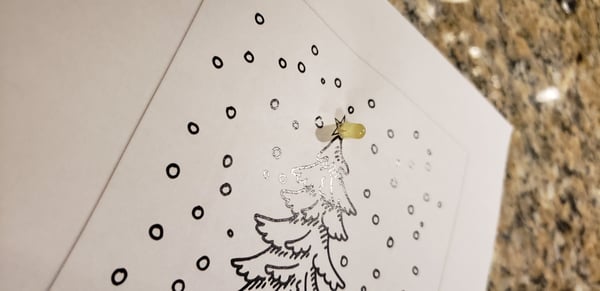
Step 3: Choose an LED light for the star on your tree. Poke a small hole through the circle labeled L1 on your template. Push the wires on the LED light through the paper from the front of the card.
Position the wires so that the shorter, negative side is on the negative side of your circuit and the longer, positive wire is on the positive side of the circuit. Tape both wires down over the circuit. Be sure to only tape over the top of the wire and not underneath it, as this may cause a break in your circuit.
Step 4: Position your battery over the battery portion of the template with the negative side down. Make sure your battery is placed over the beginning of your copper circuit. Take a small piece of clear tape and tape one side of your battery to hold it in place. Be sure to leave a portion of the battery uncovered so you can connect your circuit.
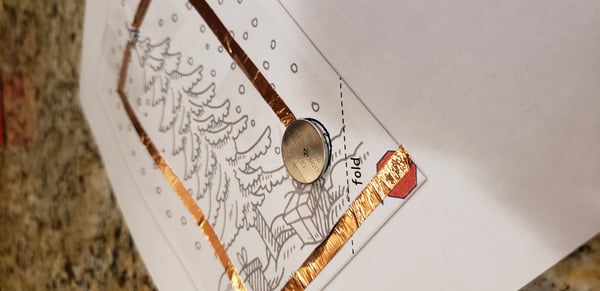
Step 5: Fold your card in half and trim any excess borders from the front. Lastly, fold the back corner of your card on the fold line so that the copper tape over the stop sign makes a solid connection with the battery. The star light on your tree should now light!
Christmas Tree Card Circuit: Extension
Once your students have practiced creating circuits, allow them to create their own designs. For a less guided approach, consider downloading this blank template and letting your students create their own circuit design on the back of their card.
Did you and your students enjoy this activity? Give us your feedback in the comment section below.

Ashley Krenn worked at Lincoln Learning as a Subject Matter Expert for Science courses in grades 7-12. She has since moved on to explore new opportunities. We wish her continued success.
Related Posts
High-Dosage Tutoring: Solving the Implementation Puzzle
Despite widespread recognition of its effectiveness, high-dosage tutoring remains difficult for...
Build a Successful High-Impact Tutoring Program for Online Learners
High-impact tutoring has proven to be an effective strategy for increasing student learning;...
How Does Online Credit Recovery Work?
According to an American Enterprise Institute survey, credit recovery options are available in...